Raspberry Pi TightVNC |
|
To gain access to revision questions, please sign up and log in.
a
sudo apt-get install tightvncserver
Run the TightVNC server and set passwords when prompted. Don't forget these passwords!
tightvncserver
You will get a message like
New 'X' desktop is raspberrypi:1
The :1 is important.
Note: Make sure any proxy server settings are made before starting the VNC server.
A good compromise geometry is 1280x768 unless you are using a really low resolution monitor. This is OK on most wide screen laptops and 1280x1024 monitors.
vncserver :0 -geometry 1280x768 -depth 24
Download the installation files and do a normal Windows installation on a machine where you have installation rights.
Then find "C:\Program Files\TightVNC" and copy the folder and files. They are not big.
These can be placed on a college network share and they will work OK without installation. Just run tvnviewer.exe by clicking on it.
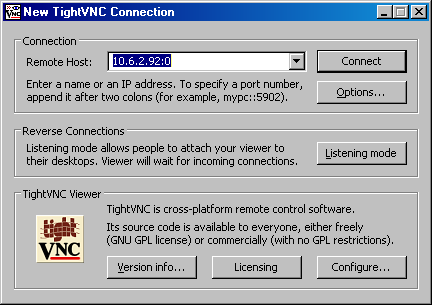
Here is a shot showing how to connect. You need the Pi IP Address and colon zero.
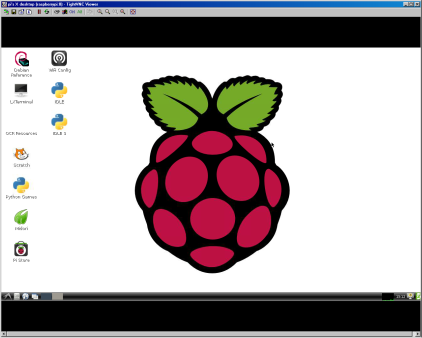
Here is what it looks like if it all works.
Follow these instructions. They seem to work OK but ...
When you reboot, watch the boot screen really carefully. Before the pi login prompt, you will be asked for TightVNC passwords. Make sure you enter these. After that, it works OK.
gvncpasswd
reviseOmatic V3 Contacts, ©, Cookies, Data Protection and Disclaimers Hosted at linode.com, London