PIC16F88 01 PICkit3 |
|
PICkit3 User Guide PICkit 3 Starter Kit Downloads Page Example Code Download
NOTE: The green board is not compatible with the PIC16F88 mentioned in the WJEC/Eduqas sample assessment material.
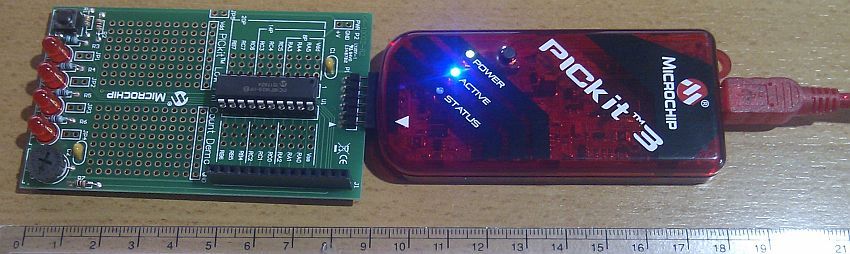
The PICkit3 can be used to program a PIC16F88 with a home made board or even a prototype board lash-up. All you need is a few wires and a 10k pull up resistor.
Here is the programmer and non-compatible board. The ruler shows centimetres.
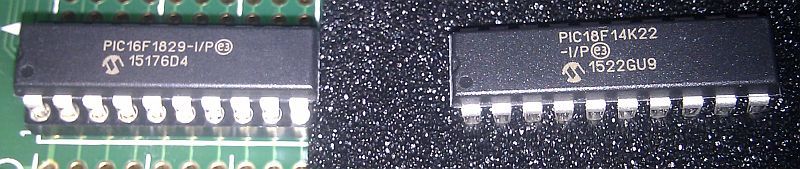
The downloadable example code works with the chips below, making them useful for the learning process.
The PICkit3 starter kit chips. These are not the ones mentioned in the WJEC/Eduqas draft specification.
Success!
Follow the downloaded tutorial PDFs for PICkit3, the starter board and MPLAB X and use the downloaded example code.
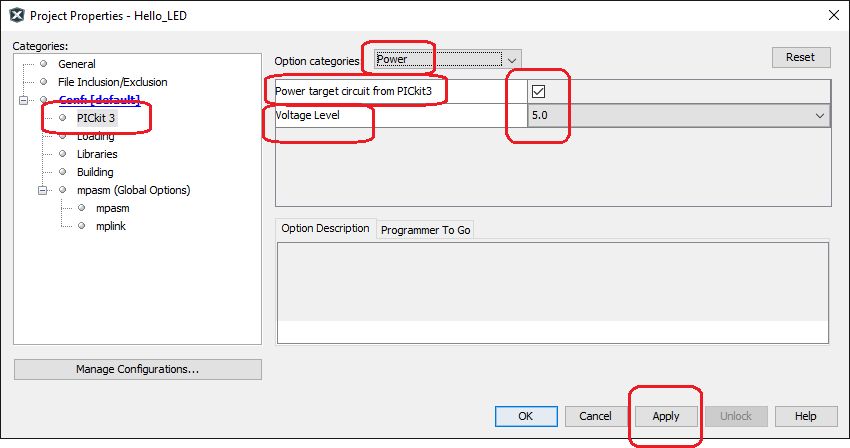
There was one GOTCHA. By default, the PICkit3 does not power the starter board. In MPLAB X, under the File menu, select project properties and use the image below as a guide.
It's OK to power the project from the PICkit3 USB line if you are flashing one or two LEDs (20 mA limit). If you plan to drive motors or relays, this is NOT a good idea.
Contact, Copyright, Cookies and Legalities: C Neil Bauers - reviseOmatic V4 - © 2016/17
Hosted at linode.com - London
Please report website problems to Neil